How to Submit a Video on Clipster: Complete Submission Guide.
November 6, 2026
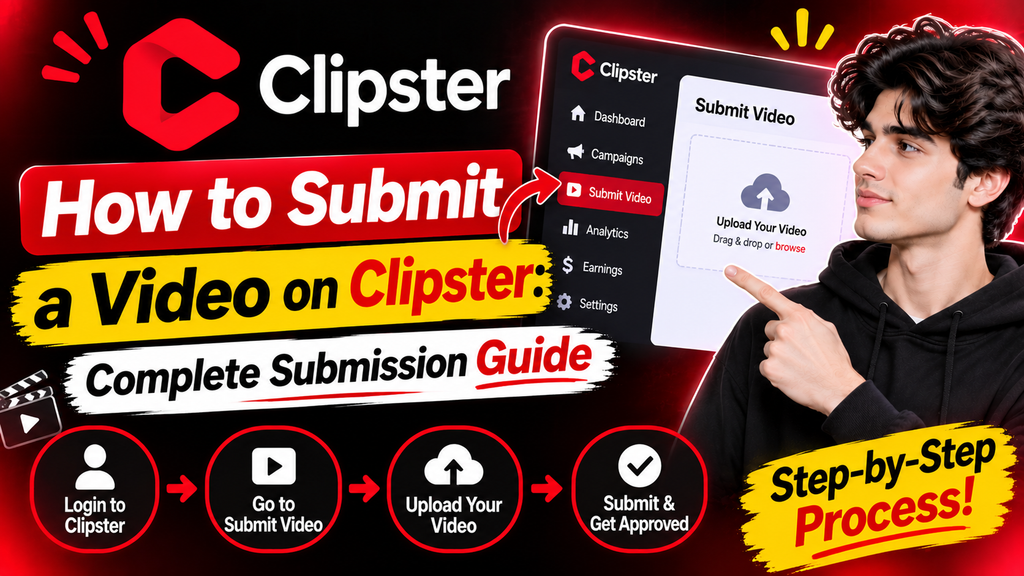
Publishing a video through a Clipster campaign involves more than creating content and sharing it on media. Creators must select a campaign understand its requirements publish their videos on an eligible account and submit the correct link for review.
For anyone learning how to submit a video on Clipster understanding each stage of the process is essential. Even a small oversight, such as submitting a link or overlooking a campaign requirement can affect whether a video qualifies for participation.
Clipster provides opportunities for creators to participate in brand campaigns by producing content. However each campaign may have its eligibility conditions, publishing instructions and payment structure.
This guide explains the Clipster video submission process in detail. It covers account preparation, campaign selection, video publishing, submission requirements, status tracking and common problems creators should understand before participating.
What Does Video Submission Mean on Clipster?
Clipster connects content creators with brands that run campaigns. Through these campaigns creators can publish videos that meet content and eligibility requirements.
Once a video has been published on a social media account the creator submits its direct link through Clipster. The platform then checks the submission against the campaign conditions.
It is important to understand that submitting a video does not automatically guarantee approval or payment. The content must satisfy the campaign requirements. Undergo the applicable review process. Its eligible views must also be generated while the campaign is active.
For this reason the public view count displayed on TikTok, Instagram or YouTube may differ from the views recorded in a creators Clipster account.
What You Need Before Submitting a Video
Before starting the Clipster video submission process make sure your account, social media connection and selected campaign are properly prepared.
1. Set Up Your Clipster Account
Begin by creating an account through the Clipster website. After completing registration sign in and access your creator dashboard.
Make sure your account information is complete and that you can access the dashboard sections. Becoming familiar with the options will make it easier to manage campaigns and submissions later.
2. Connect Your Social Media Account
Your social media account is a part of the submission process. The video you intend to submit should generally be published through an account connected to your Clipster profile.
On the website follow these steps:
- Click your profile avatar.
- Open “Settings”.
- Select “Connected Accounts”.
- Choose “Link Account”.
- Select the social media platform.
- Sign in. Authorize the connection.
On the app open “Profile” select “Connected Accounts” and choose “Link Account”.
Check that the correct account has been connected before publishing your campaign video. Using an account that is not linked to your Clipster profile may create submission difficulties.
[SCREENSHOT 1: Insert a Clipster Connected Accounts screenshot showing the Link Account option.]
Suggested caption: Connecting a social media account before submitting campaign content on Clipster.
3. Select an Active Campaign
After connecting your account visit the “Discover” section to explore campaigns.
Each campaign has its requirements, payment structure and participation conditions. Some may focus on content categories while others may specify accepted social platforms, audience characteristics or follower requirements.
Do not make a decision based on the advertised payment rate. Read the campaign information carefully. Consider whether its requirements are suitable for your account and content style.
4. Review the Campaign Requirements
The campaign brief explains what creators must do before publishing their videos.
Depending on the campaign requirements may include:
- Using specific source material.
- Including a brand logo.
- Selecting an approved music track.
- Following a specified video format.
- Meeting minimum video duration requirements.
- Publishing on an accepted social media platform.
- Meeting audience or follower eligibility conditions.
These requirements can vary between campaigns. Therefore reviewing the brief before creating content is an important part of successful Clipster campaign participation.
[SCREENSHOT 2: Insert a real Clipster campaign details screenshot showing Content Requirements, accepted platforms and campaign rate.]
Suggested caption: Reviewing campaign instructions and eligibility requirements before creating a video.
How to Submit a Video on Clipster: Step-by-Step Instructions
Once your account is connected and you have selected a campaign you can begin the publishing and submission process.
Step 1: Open Your Selected Campaign
Sign in to Clipster and navigate to “Discover”.
Find the campaign you intend to participate and open its details. Before proceeding confirm that it is still active and accepting submissions.
Some campaigns may close when their allocated budgets have been used or when the campaign is ended by the brand or Clipster.
If the campaign requires an application complete that process first. Wait for the necessary approval before submitting your video.
Step 2: Create Content That Follows the Campaign Brief
Before recording or editing your video review the campaign instructions carefully.
Different campaigns may require types of content. For example a gaming campaign might require clips from specified source material whereas a music campaign may request a sound or tag.
Pay attention to the content format, duration and any other instructions provided in the campaign brief.
Creating a video that follows these conditions from the beginning can help reduce the possibility of rejection during the review process.
Step 3: Publish Your Video on a Connected Account
After completing your video publish it on the media account connected to your Clipster profile.
Your post generally needs to satisfy the conditions:
- The social media platform must be accepted by the campaign.
- The video must be published through a linked account.
- The post and account must be publicly accessible.
- The content must follow the campaign instructions.
- The video must be published after the campaign has started.
Avoid changing the videos privacy settings or removing the post while its performance is being monitored.
Step 4: Copy the Direct Video URL
After publishing your content open the social media post and copy its direct URL.
This is a step because Clipster needs the link to the individual video rather than a general link to your social media profile.
For example when submitting a video copy the URL of that specific TikTok post. The same approach applies to Instagram Reels and YouTube videos.
Before proceeding open the copied link. Confirm that it directs to the correct video. An incorrect or inaccessible URL may prevent the platform from identifying your submission
Step 5: Open the “Submit Content” Option
Return to your selected campaign on Clipster.
Locate the “Submit Content” option. Open the submission form. You should find a field where you can enter the URL of your published video.
Paste the link into the appropriate field. Before submitting check that the video is publicly accessible and that the URL is correct.
[SCREENSHOT 3: Insert a Clipster screenshot showing the Submit Content button and submission link field.]
Suggested caption: Entering the published video URL in the Clipster submission form.
Step 6: Submit Your Video for Review
Once you have checked the link complete the submission process.
Clipster will begin checking the submitted content against the campaign requirements.
Keep in mind that a successful submission is not the same as approval. The platform may still need to review the videos eligibility, performance and compliance with the campaign instructions.
Step 7: Check Your Submission Status
After submitting your video visit “My Activity” or the “Submissions” section to monitor its progress.
Depending on the stage different statuses may appear:
- Processing: Your submission is undergoing the required checks.
- Insufficient Views For Earnings: The video has not reached the minimum view requirement for generating earnings under the campaign.
- Eligible: The submission meets the initial requirements and is being monitored. Final eligibility is confirmed after the campaign ends.
- Rejected: The submission has not passed the review process. Check the displayed reason for information.
- Paid Out: The submission has reached the payout stage. The relevant earnings have been credited.
Understanding these statuses helps creators identify whether further action is necessary or whether the submission is still being reviewed.
[SCREENSHOT 4: Insert a Clipster My Activity or Submissions screenshot showing submission statuses.]
Suggested caption: Reviewing video submission statuses in the Clipster creator dashboard.
Important Clipster Submission Rules
Following the submission process correctly is important. Creators should also understand the rules that affect campaign participation and earnings.
Submit Within 24 Hours
Clipster generally requires creators to submit their videos within 24 hours of publishing.
Waiting longer than the permitted period may result in an error indicating that the submission is too old for the campaign.
For this reason it is advisable to submit the video after publishing rather than leaving the process until later.
Only Views Received After Submission Count
One of the important details of the Clipster earning process concerns when views become eligible.
Consider an example: a video receives 10,000 views before being submitted to a campaign. Those views do not automatically become eligible, for campaign earnings.
Only views generated after submission while the campaign remains active count towards the earning calculation.
Creators should therefore pay attention to the submission time when evaluating their campaign performance.
One Video Can Only Be Submitted to One Campaign
A single post cannot be submitted to campaigns.
Before publishing decide which campaign is most suitable for the content you intend to create. Review its requirements. Make sure the video is prepared accordingly.
Keep Your Video and Account Public
posts or content with restricted visibility may not be tracked correctly.
Keep the submitted video accessible and avoid changing its privacy settings while Clipster is monitoring its performance.
Avoid Artificial Engagement
Do not use bots, purchased views, artificial engagement groups or other methods intended to manipulate video statistics.
Clipster checks submissions for activity and campaign compliance. Genuine audience engagement is an appropriate approach to building long-term creator performance.
Why Are My Clipster Views Not Updating?
Creators sometimes notice that a video has received thousands of views on media while the Clipster dashboard displays a lower figure.
This difference does not necessarily indicate a problem. Public views and eligible campaign views are measured differently.
Clipster refreshes submission statistics periodically; therefore new views may not appear in the dashboard immediately.
The tracking process generally refreshes statistics about every two hours during the eight hours after submission. Following this period refresh intervals can vary.
Some possible reasons for differences in view counts include:
- Views were received before the video was submitted.
- The campaign has already ended.
- The video has not reached the minimum eligible view requirement.
- The post is private, restricted or unavailable.
- The next statistics refresh has not yet taken place.
To investigate open the submission in “My Activity” and review its available details. If a next refresh time is displayed use that information to understand when another update may occur.
Common Clipster Video Submission Mistakes
Many submission problems can be avoided by reviewing a few details before sending a video for review.
Submitting a video: Make sure the video was published after the campaign started and falls within the permitted submission period.
Providing a profile URL: Submit the link to the individual video, not your general social media profile.
Ignoring campaign instructions: Content may be unsuitable even when it appears relevant if it does not meet the campaigns requirements.
Using an account: Confirm that the account used for publishing is linked to your Clipster profile.
Changing video privacy settings: Keep the video accessible so that its information can be checked.
Submitting the video more than once: Remember that one post can only participate in one campaign.
Expecting payment: Earnings depend on eligibility checks, campaign conditions and the payout process.
Taking these precautions can help creators avoid submission problems.
Frequently Asked Questions
1. How do I submit a video on Clipster?
Discover” select an eligible campaign publish your video through a connected social media account and choose “Submit Content”. Enter the video URL and complete the submission process.
2. Can I submit a TikTok video to Clipster?
Generally no. The video must be published after the campaign begins and submitted within the permitted submission period.
3. How long do I have to submit a video?
The standard submission window is 24 hours after publishing. Check the campaign instructions for applicable conditions.
4. Why are my views not showing in Clipster?
Statistics are refreshed periodically. In addition views received before submission do not automatically qualify for campaign earnings.
5. Can I submit one video to two Clipster campaigns?
No. A single post can only be submitted to one campaign.
6. Does submitting a video mean it has been approved?
No. Submission only begins the checking process. Final eligibility depends on the campaign requirements and review.
7. What should I do if my Clipster video is rejected?
Open the submission details. Review the rejection reason. If you believe the decision is incorrect follow the appeal process or contact Clipster support.
8. Does Clipster require a social media account?
Your connected account and submitted video generally need to be publicly accessible so their information and statistics can be checked.
Final Thoughts
Submitting a video, on Clipster becomes easier when creators understand the campaign requirements and follow the process.
Before publishing take time to review the campaign brief and confirm that your social media account is properly connected. After publishing copy the video URL and submit it within the permitted period.
It is equally important to understand that submission, approval, eligible views and payment are stages. A high public view count does not necessarily mean that all those views qualify for campaign earnings.
By approaching each submission and reviewing the relevant campaign conditions creators can manage their participation more effectively and avoid common mistakes.